 |
| Project on Buzzfeed |
First, I read through all the directions from a blog called Small Town Craft Fair. Next, I texted my dad to make sure this was a project that he was willing to do with me (honestly, I would never have been able to do this without my dad's help). Once I got the two thumbs up from my dad, I needed to find a wooden cable spool. I had NO idea it was going to be so difficult! Apparently wooden cable spools are not easy to get your hands on. Plus-they are super expensive. I called around to several stores such as Home Depot and Lowes asking if they had any wooden cable spools lying around that I could have. No luck. I researched places online where I could purchase one. TOO expensive. I even called around to different electric companies. I was on the verge of calling it quits and finding a different project. After a few days of giving up, I ended up stopping at Lowes to pick up a few extra pvc pipes (pipe phones) for reading groups and I walked out hitting the jackpot! While inside, I walked past the cable aisle. There just so happened to be a man wearing a Lowes name badge working in the aisle. Needless to say, after a bit of small talk, I was jamming a large (and free!) wooden cable spool into the trunk of my car! YAY!
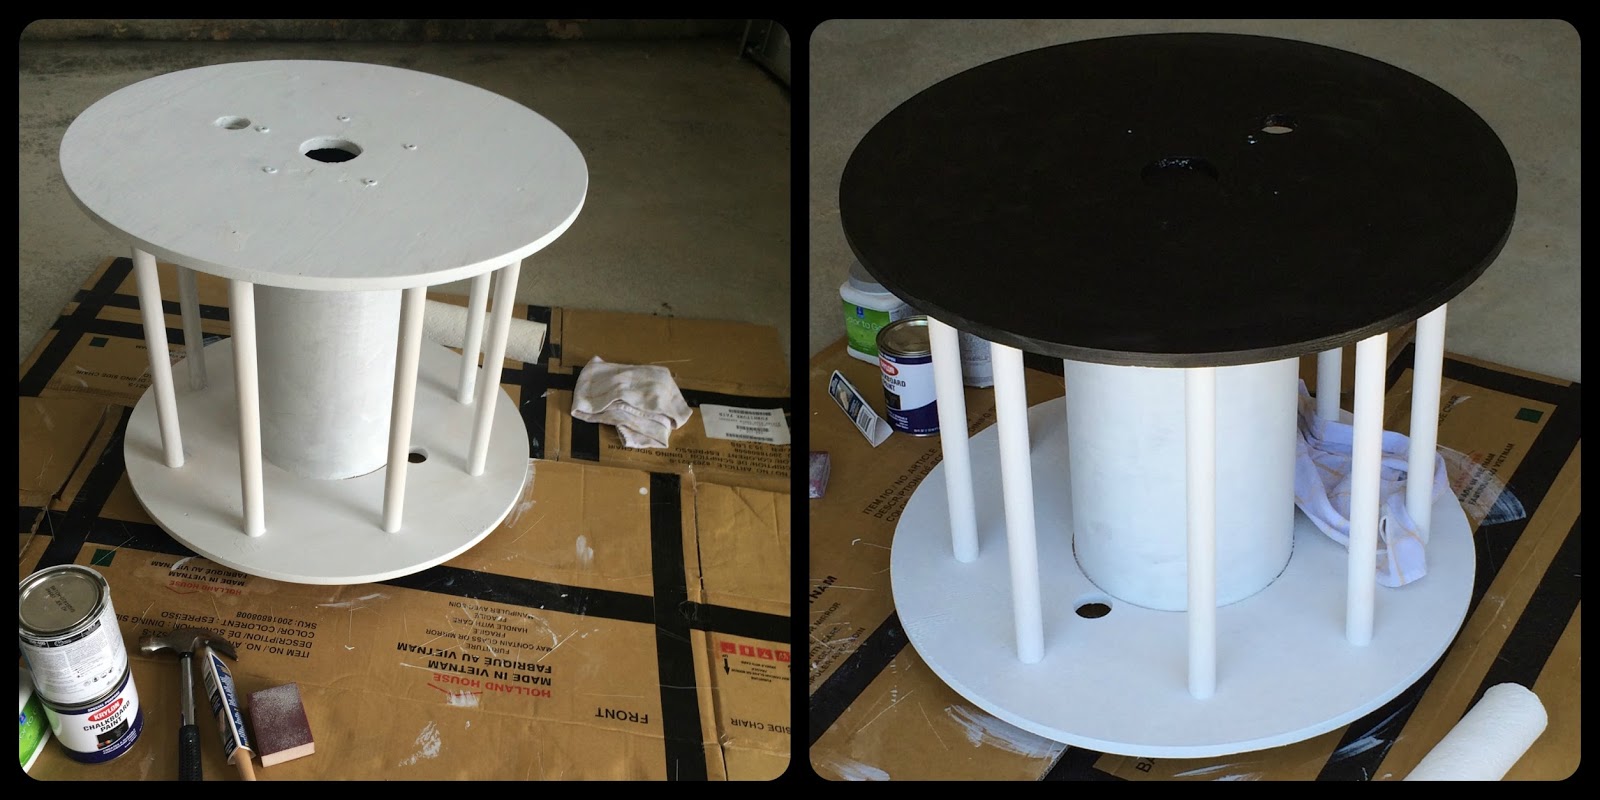
After going over the directions with my dad, we decided to tweak them a little based on the tools he had in his garage. After a lot of sanding, we cut down our dowels to fit in the spool as the bookcase dividers. We marked where we wanted each dowel to be placed in the spool, we secured the dowels, placed wood putty over the screws, sanded more...and more....and more, and lastly we screwed on the wheels for the bottom of the bookcase.
This whole process took my dad and I about 2 hours max. It was great bonding time with my dad! Overall, my dad and I had a blast together and the bookcase looked great! Next came the hard part though.....deciding on how to paint it!!! Decisions, decisions, decisions!-------2 Weeks Pass By-----
So, after staring at many color choices, I decided to paint the bookcase white and the top of the spool with black chalkboard paint. WOW---it really shouldn't have taken 2 whole weeks to decide on white! After a few coats, here's what it looked like...
I was unsure how it was actually going to look with books on it. After allowing the coats to try, I was eager to put it in my daughter's room. Not all of her books fit, which was fine. Plus it didn't work well for her chapter books. Overall though, I was pretty happy with it. My daughter loves it. The other day, Lucy drew a countdown for our summer vacation. We get a lot of compliments on the bookcase when friends come over.
So, what do you think of this bookcase? What DIY projects have you made lately?


What an idea, impressive way to create a bookshelf.
ReplyDeleteReally loved and please visit office bookcase